
 PT
PT ES
ES
So, here comes the second part of our push notifications guide for marketers. Make sure you have checked the first one and let’s continue.
Today, we’ll analyze the performance of push notifications in general, give you tips on choosing the best provider, and tell you everything else you need to know to implement this type of alert into your campaigns.
How to Choose the Best Push Notification Provider?
Push providers vary in quality of service, technology, features, and many other areas.
Therefore, you need to find a reliable push service that delivers in terms of performance while also containing the features you need most.
What to look for?
- Advanced targeting features
For the best performance, you need to deliver relevant and customized content to your users. Advanced targeting will help you keep, track and centralize data, therefore – deliver valuable messages to your visitors.
- Automation
It’s great to have advanced automated tools, like RSS feeds (tool to display the latest relevant news in users’ feed), triggered notifications sent at the right moment, and more. Check how wide the scope is.
Analytics
Also, make sure that your service provider has comprehensive tools to evaluate the results of your campaign and see which aspects need your attention and improvement.
Also, parallel testing is something that can help you make the right choice and we have it here, at Notix. Try Notix functionality, compare the results, and continue communicating with your audience with no changes in your current integrations. See the difference with your own eyes – we’re 100% sure you’d decide to switch to Notix.
Installing Your Web Push Code
After choosing your push service provider, you’ll need to install your push code. There are a few ways to do this, all of which may vary based on your provider.
Below, we’ll go over the steps needed to install your push code with Notix. Keep in mind that this process is particularly simple, so you may encounter other steps depending on who you work with.
Classical Integration
To complete the integration the old-fashioned way, you’ll need to add the website that will contain the notification on the push provider’s platform. You will get a code in return, which you need to paste into the header of the page in question.
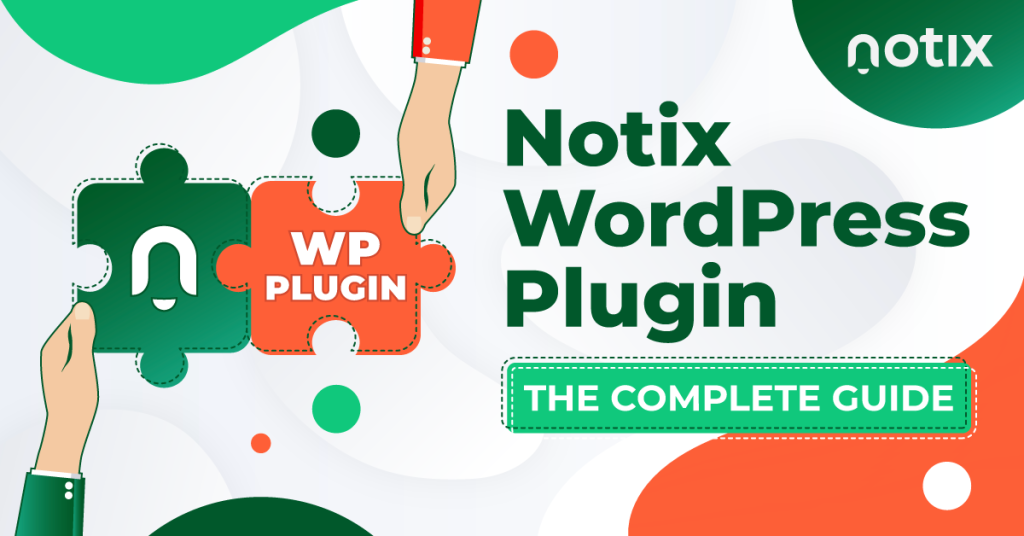
WordPress Plugin
If you have a WordPress page, you can install Notix using a plugin directly through the admin panel. Simply add the plugin, follow the instructions, and everything else will be set up automatically.
Google Tag Manager
This process is a simplified version of the classic integration. The main difference is that instead of inserting the push code directly into the header, you’ll need to upload it through your site’s root directory.
Choosing the Right Segmentation Settings for Your Campaign
There are many parts of your push campaign that need to be tweaked for you to be successful, like the CTA of your ads. But one major, absolutely necessary component that needs to be improved is the segmentation feature.
Segmentation can increase the CTR of your notifications by 46% and their open rate by 27%. But, which variables do you need to filter traffic by?

Let’s take a look.
Site Content
One of the most basic ways to segment your efforts is at the site content level. Simply divide blogs and pages into different categories, then ask your users what topics they are interested in.
User Behavior
Segmentation by behavior allows you to choose which messages the audience members get based on their prior actions. It’s ideal for creating retargeting campaigns.
Location
Perhaps the most iconic form of segmentation, targeting by location or GEO lets you limit which users see your ads based on where they are located.
Device Type
The device that a user employs to browse the web and complete other actions says a lot. Fortunately, you can segment users based on the type of device they used in Notix.
Optimizing Your Campaign
Once you have collected enough data, you need to optimize your campaign. The optimization process is similar to other forms of marketing. In short, you need to analyze the data collected and make changes based on this information.
The exact changes, your optimization schedule, and most other variables will be different based on each project’s requirements. So, take your time and figure out the patterns of each campaign before you tune up the fine details.
Establishment and Observation of Performance Benchmarks
Note the statistics before you start your first optimization as these will be known as your performance benchmarks. In other words, how your campaign performed at the most basic level.
Use these statistics to gauge your growth from the very beginning. For example, if your CTR is 1% before your first optimization, use that number whenever evaluating your improvement from the start of your campaign until now.
Ready to Set Up Your First Push Campaign?
Setting up a push campaign and integrating this into your existing marketing scheme can be challenging – but the rewards are definitely worth it.
Follow the steps above to find a great provider, install your push code, and start benefiting from running this type of notification on your site.