Why waste time and money, trying to create the perfect Push Notifications? Coming up with punchy lines, finding the right images, targeting, or delivery settings can be a pretty demanding job. Especially when you always want to send your push, and to do it on time.
Isn’t it best to leave that for the pros?
To make your life easier, we came up with some easy fixes!
Why use the Notix automatic Push Delivery
When life gives you great content, make sure to spread the word. And what is the best, most engaging, and fastest way to do so? Plus, you can even automate your Push Notifications delivery, and don’t have to worry about:
- Having enough time to let your clients know that you just released new content – it’s very important you don’t skip sending updates
- Delivering content really fast, without wasting any time – your users must be the first to find the news, and they need to get it from you (not your competitors)
- Using any other software than your WordPress account – time is money, and you can dedicate more for your content management software
- Repeating the same task – you know what works, and repeating it is essential
- Staying consistent – send your update every time, at the same time, with the same parameters
- Specifically targeting one user/audience
- Not being able to control various parts of your message automation process – automate some parts, and leave the rest to the system
- Having to pick between various automation features – automating more than one setting, to spread your reach on various platforms or communication channels
Just choose from our 3+ fast and easy strategies for beginners to automate as much as you want, of the push notification delivery process. All hands-free. Optimization and top-notch settings that an expert webmaster would set included.
So, here’s what automation features you can choose from with Notix.
1. Fast Push Creation
With this setting, there’s isn’t really a lot for you to worry about. You only need to paste the target URL of your message on the platform, click on the button responsible for fetching materials from this URL, and that’s it.
The system creates your Push Notifications getting images, header, and content from the source page you indicated. Automatically. With no stress, and basically no time spent on creating your push.
Here’s how it works:
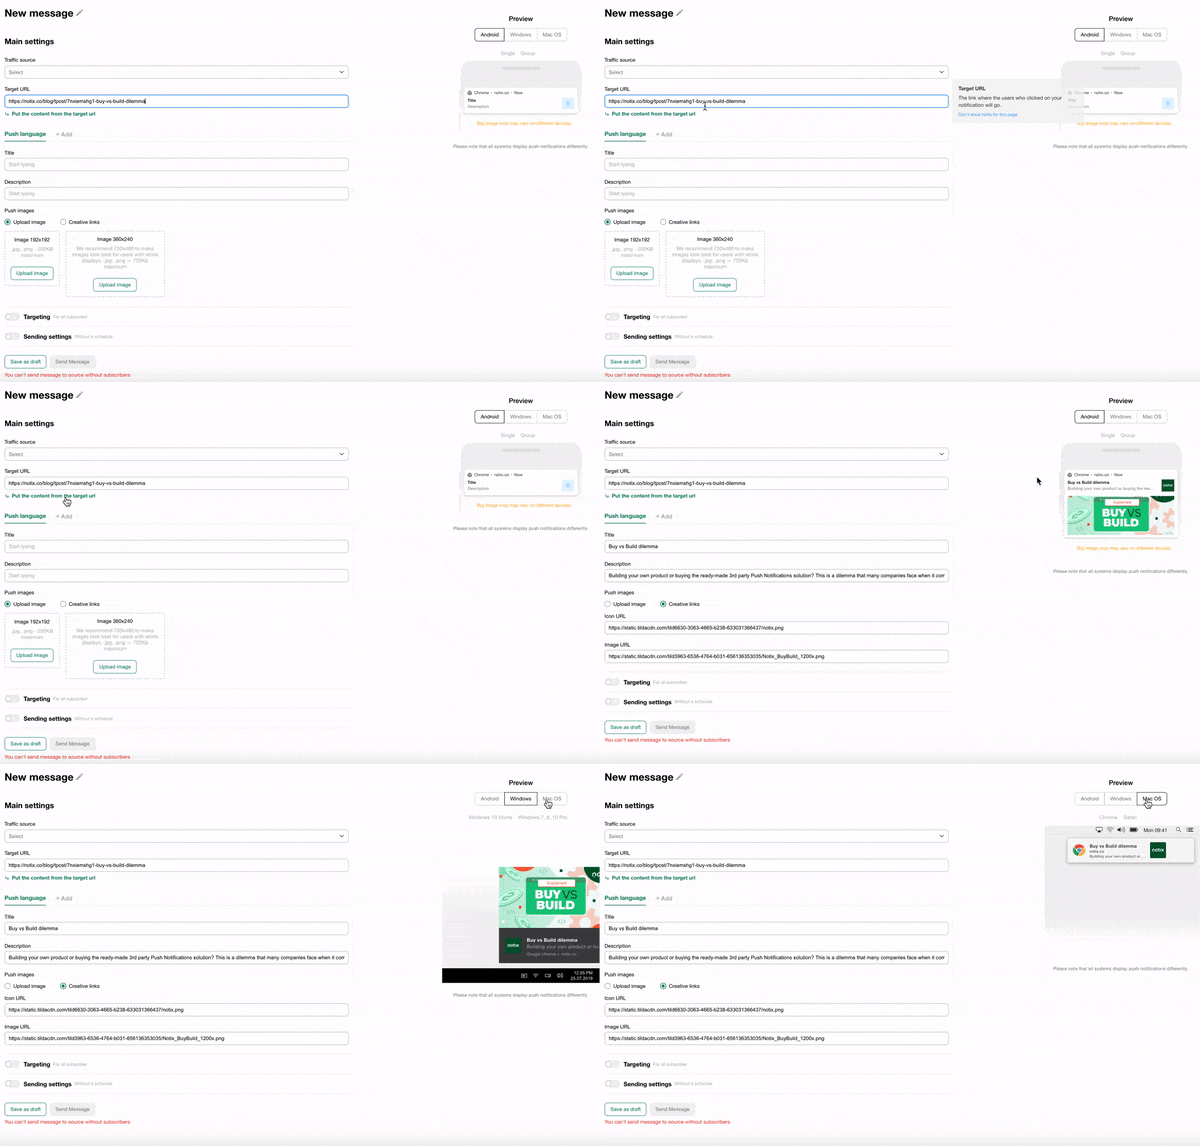
Although the process of creating the push is automated, you can still change the title, description, or images, if needed. And even so, you’re saving time, by not having to upload creatives one by one or come up with the whole content or idea. You get a head-start.
2. RSS-to-push Integration
A great way to automate your Push Notifications is through RSS Integration. And with us you can always choose between the Notix solution or other methods you are already familiar with. If needed, we might be able to help you set up other custom integrations. Make sure to ask.
Notix RSS Integration
This easy solution gives you the chance to automatically update your users about any new content you post on your website. RSS stands for Really Simple Syndication, Straightforward Syndication, or Rich Site Summary (based on where you’re looking) – but these all amount to the same thing.
When you create a website, you have the chance to set up an RSS Feed. In simple words, to enable adding short snippets of new content to feeds, inside the community. Once you do this, users can then add your website to their Feed, and stay updated.
New content appears in the RSS Feed resembling Push Notifications. So, instead of having the content update available only within the community, with this feature, you can deliver the same messages via Push Notifications as well.
And the best part is that with Notix this will cost you nothing. Aside from receiving our support all the way.
Not that you would need it, since you can easily turn your RSS into regular notifications for subscribers in literally just 2 steps:
- Add your RSS URL
- Confirm the way info should be fetched
Of course, you can check how the preview looks, and make all the changes you like (but only if you really want to). In addition, because we like to give you options, with Notix you can narrow down on your targeting.
For example, Target users based on their specific interests – If you run a website with news from various sports, you can choose to only send relevant news updates.
You’ll have the Notix retargeting pixel to help you identify users’ interests, more accurately.
Need more technical details to automate your notifications through RSS? Read this article
Third-party Integrations to turn your RSS feed into push notifications
- Zapier
- Integromat
These integrations can provide the same functionality that the Notix RSS-to-push feature gives you. So, if you’re already automating your RSS with one of these service providers, we can just connect them to your Notix account. This can be done through our API bridge.
However, different than when working with Notix, with third-party services you might have additional costs to automate your RSS feed. Moreover, you’ll have to ask for their support in case anything goes wrong with your setup.
If you’re not using any third-party solution, you’re all set up, since here at Notix we make sure you have everything you need.
Other Notix automation settings for beginners
These functions come in really handy when you need to send the same (type) of Push again. Just pick the method that is best for your case:
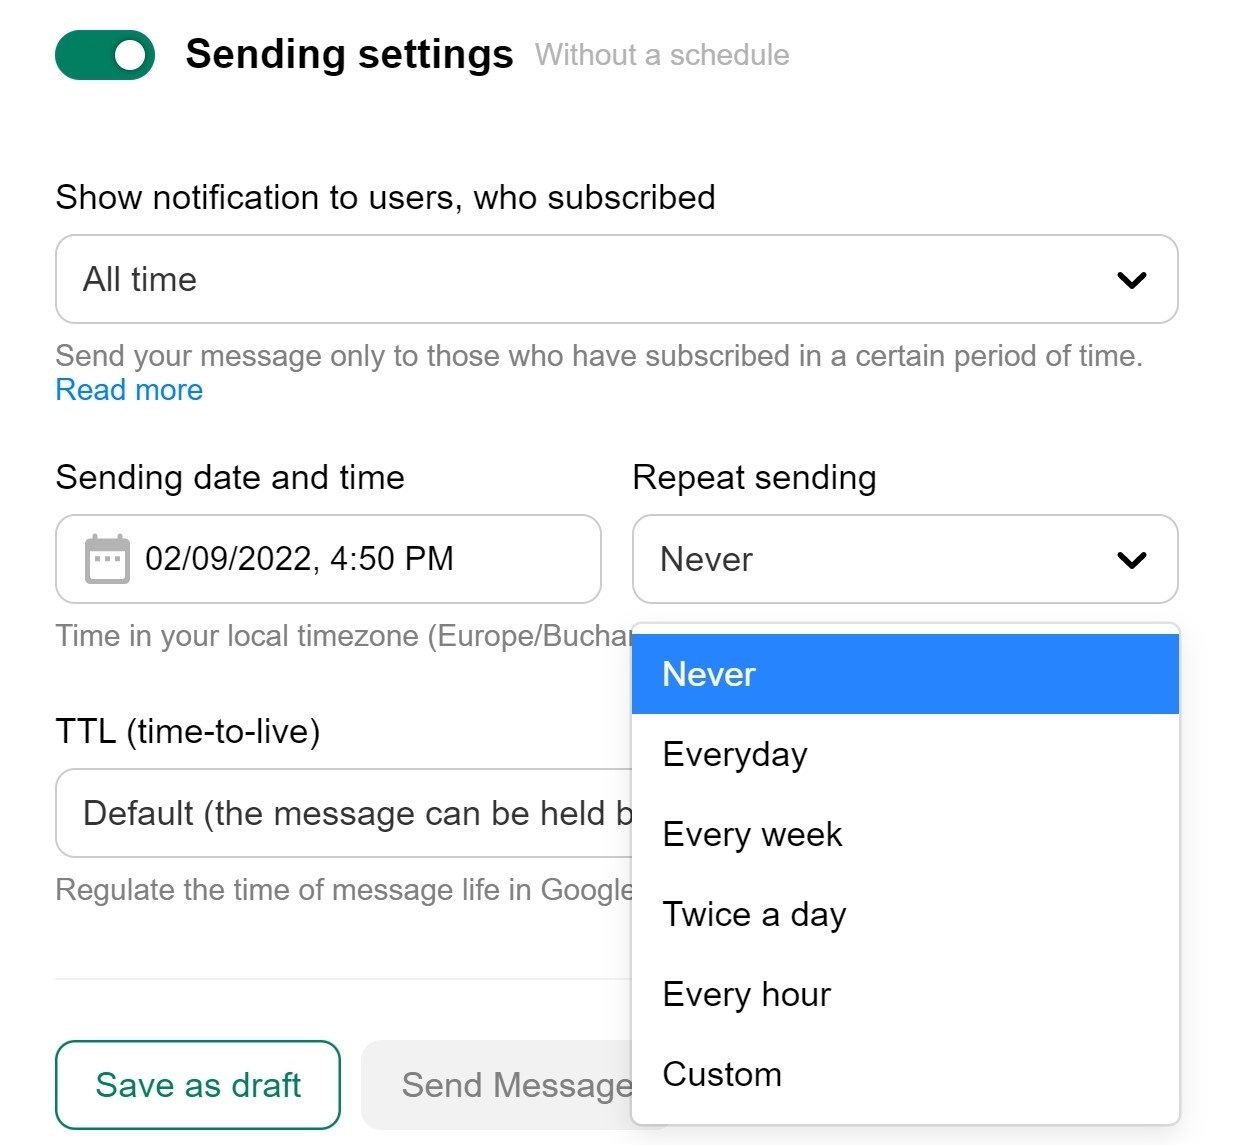
Repeat Push Send (send automatically after a set interval)
Although with this feature you’re not automating the Push delivery, it will still save you the trouble of having to return to the website and resend a message. This setting enables the platform to automatically send a push, every set period of time.
WordPress Plugin
With the Notix WordPress Plugin, you can automate sending a Push Notification every time you publish a new WordPress article. No RSS, no integration, no extra settings.
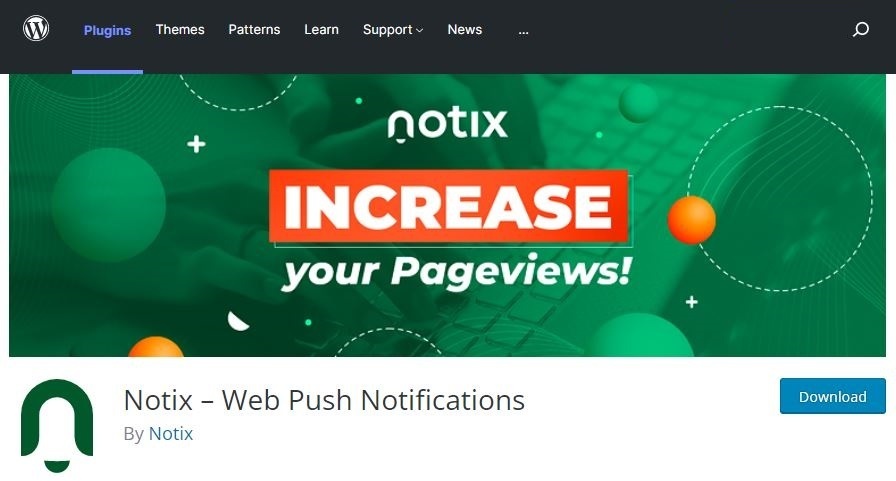
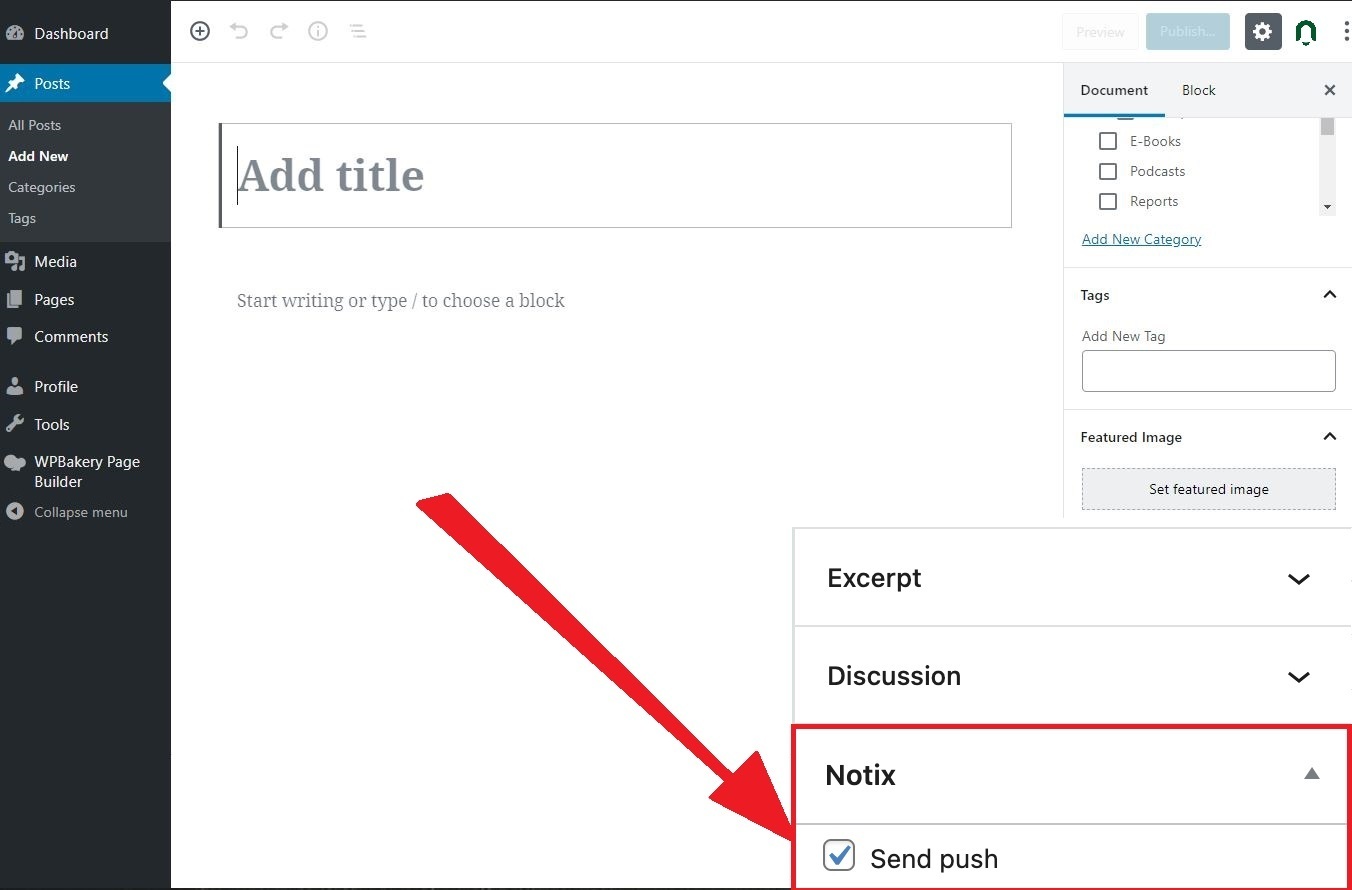
All you need to do is download the plugin, and post your articles as you would normally. Then, right before you launch the article, just tick the box under the Notix plugin. You can find it on the right-hand side, under Document Settings.
This way a Push about your newly published post is sent automatically.
3. API / Webhooks for more advanced users
If you want to take your Push automation game to the next level, this is the solution you’re looking for. It allows you to automate on a higher end.
Use the API / Webhooks feature if you want to control every single setup of your Push sending process, as you’d do normally when using our platform.
With this kind of automation you have the possibility to define all the same parameters as when sending Push through our platform, plus several more like:
- Send messages with a trigger for a particular user or audience
- Connect third party systems that allow changing your content (CRM or content management system)
- Maximum amount of recipients
- Exclude registration/subscription date
If for any reason you don’t want to return to the Notix platform when sending Push Notifications, you can use the API / Webhooks.
Here’s everything you need to know to work with the Notix API
Although this feature is not for beginners in the art of Push Notifications, its advanced features make it worth mentioning.
You should consider asking for help from a developer. That’s if you want to have this in-depth setup for your Push. At least for the initial setups.
What You Should Remember
If you’re going for consistency, timeliness, and accuracy you can count on Notix to provide you with a method to automate your Push Notifications delivery. And whether you’re going for more or less control over the ‘what’, ‘how’, or ‘when’ of your messages, it’s only up to you.
Because our main concern, here at Notix, is making your life a lot easier. One Push Notification at a time. Or, through all the Push Notifications at a time.
And if you need more help, we’re here for you.

 PT
PT EN
EN